I. Setup Azure
Log into https://portal.azure.com
1. Create a Resource Group
Azure collects all items in "Resource Groups".
You will need at least one resource group.
We recomment to use names that others direclty understand as you cannot rename them.
E.g. "Tests", "SourceImages", ...
(RR will create additional resource groups for the VMs it creates)
A resource groups is linked to
- Subscription (The Azure billing account)
- Region (The data center with the hardware: USA/Europe/...)
We recommend to create a test resource group for creating VM images and test other stuff.
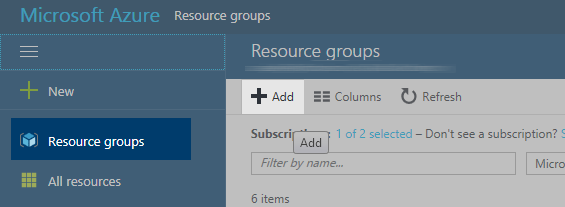
To create a new resource group, choose Resource Group from the menu and press the +Add button.
Name it for example "mySourceGroup"
2. Virtual Network
We need a Virtual Network to create any VM.
You can either create one during the VM creation (step 4).
Or you create one now, perhaps even the right network that you will use for rendering.
Note:
RR offers to create a Virtual Network with a VPN connection to your company for you, see help page "Create VPN".
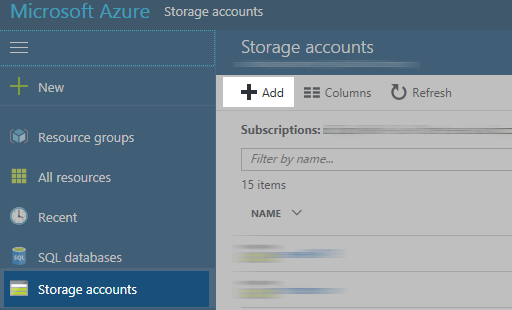
3. Storage
You will need at least one storage for the source image.
We will use the same storage for the VM that we use to create the image.
Notes:
- Storage names have to be unique between all users in the Azure. You can only use lowercase letters and numbers.
- The deployment model has to be "Resource manager" (actually for everything you do in Azure).
- Premium can be used, but is not required at all. It costs more.
- Replication: This is about data security. LRS is fine. (If an Earthquake or a Nuke hits the data center your data is lost as it is saved in one location only)
- Encryption is not required.